Friday, April 27, 2012

A cupcake!

Hello everyone! Sara here, and even though we've been around for awhile, this is my first official post by ME instead of Kitty! Hooray!

So, we've had a bit of a break because we've been so busy with school and such, but we're back. (: We have lots of new ideas and inspirations that we just can't wait to share!

Today I had the wonderful privilage of serving some fine cupcakes to some very fine people who work for my county! Since it's getting into warm weather, I made them Raspberry Lemonade Cupcakes.....


Tada! That's a candied lemon peel our mom made, and the lemon cake is filled with a rasperry puree. All topped with raspberry buttercream. YUM!

Looking forward to posting more cupcakes and confections soon. (:   -Sara

Tuesday, December 28, 2010

Not A Cupcake: Christmas Dinner


This year, Mum had to work two absolutely ridiculous 12-hour shifts at the hospital, on Christmas, so Sara and I took over the business of Christmas dinner, which was to be eaten hastily between presents and Mum’s brief nap between shifts.
I proposed a stew, something easy and warm and something we could throw in a pot and leave alone for several hours and not clog up the kitchen.  Sara, who is working her way through Julia  Child’s cookbook “Mastering the Art of French Cooking,” countered with beef burgundy (or as Miss-Foreign-Language-Scholar insists “boeuf bourguignon”. French, being something of my mortal enemy in high school, makes me want to run for the hills so I will maintain the use of the translation).

Boeuf Bourguignon / Beef Burgundy

Recipe via Food.com, though you really should buy the books. Also, instead of a casserole dish, we used our cast-iron stew pot because we don’t own an enormous casserole dish that is both stove-top and oven safe. Works just as well, I think.
This was absolutely amazing. If it wasn’t so darn time-consuming and sort of expensive, I’d make it all the time.
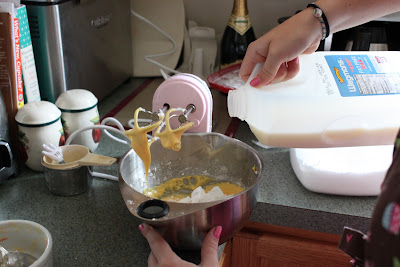
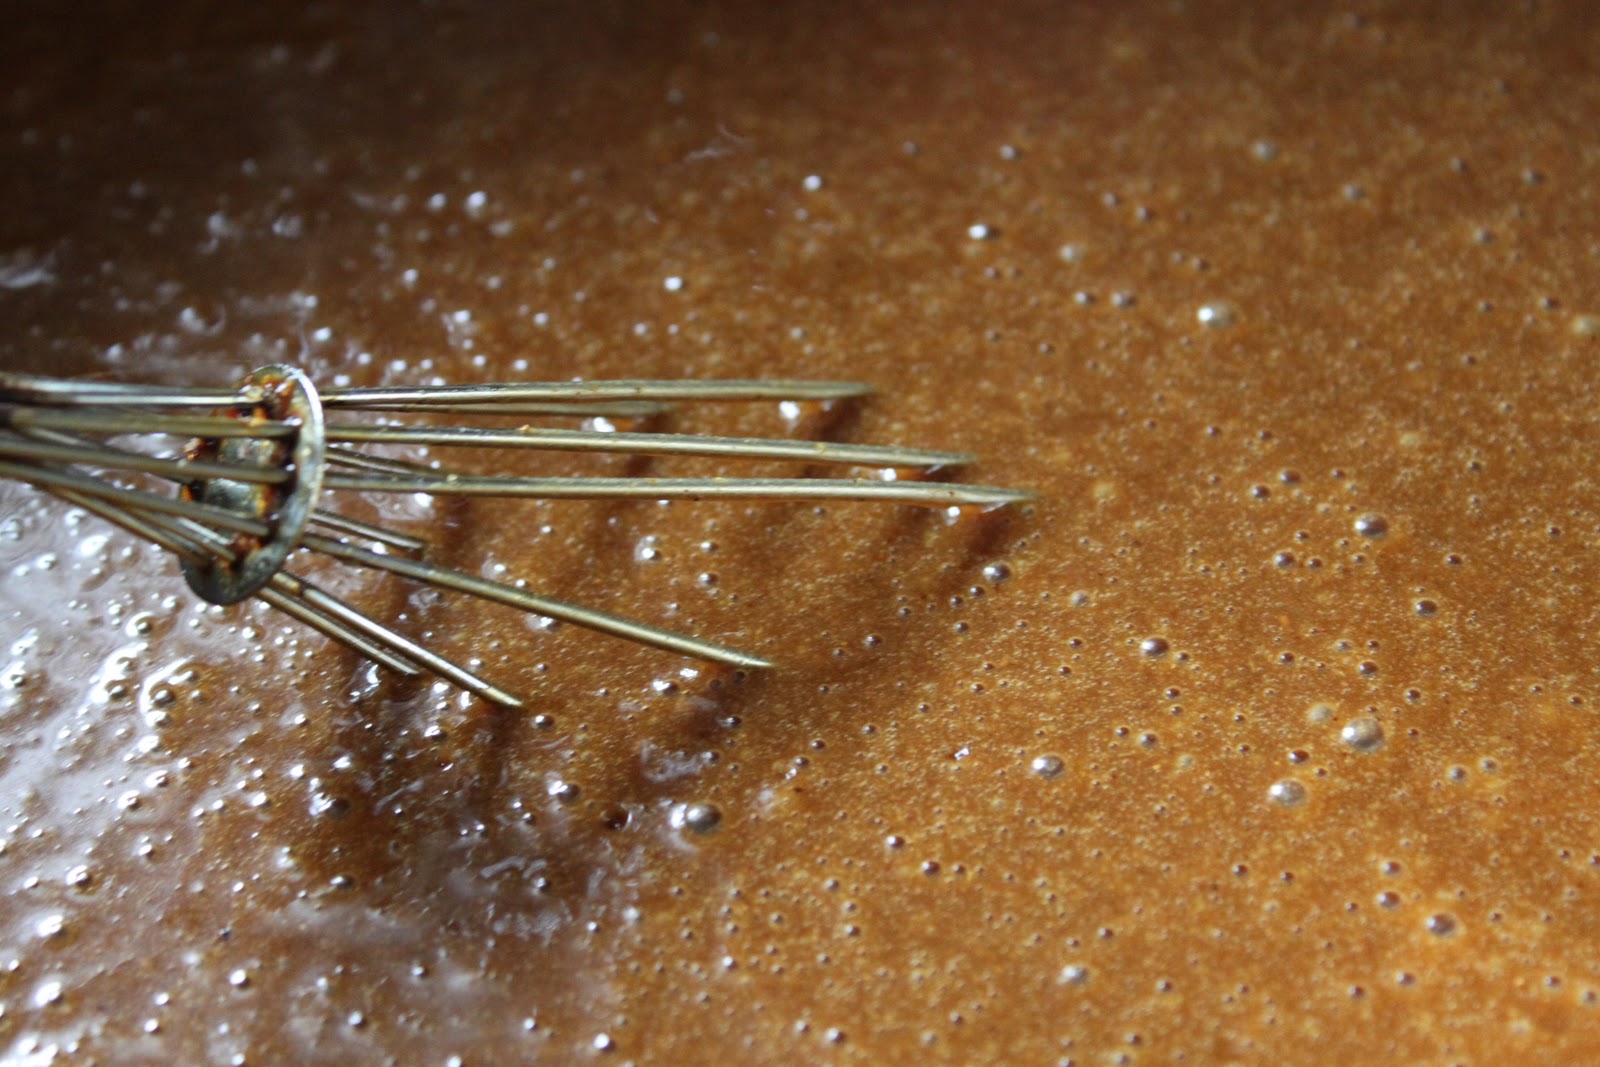
For the sake of saving time (time that could be spent opening presents, naturally), Sara and I made the beef burgundy a day ahead and then let it re-heat in the cast-iron pot all morning. It reheated beautifully, though it really had turned into a stew by the time we got to it. Didn’t affect the taste at all, but if anyone was looking for meat that wasn’t so tender it fell apart if you looked at it funny, just make it before you intend to serve it. Also, use less wine and broth if you want less sauce weirdo.
The only thing I’d change about this recipe would be more/larger carrots. I think the dish could use a little more crunch. Also, I’d cut the mushrooms smaller, as I approve of the taste but not the texture of huge chunks of mushrooms.

Savory Buttered Peas
Recipe via Food.com {though I left out the pimentos, because I don’t care for them, to be honest}
Even though this recipe was my suggesting, I ended up feeling sort of ambivalent towards them. They were good, and a little more “fancy” than just microwaving a bag of peas and throwing them on the table. But even though I used plenty of savory and aromatics, they ended up not having much flavor at all. Perhaps I didn’t let them cook long enough, though the peas were almost dry by the time I thought they were ‘done’.

Sour Cream Mashed Potatoes
Pretty standard fare, potatoes-wise. Really, potatoes are potatoes are potatoes (imho) and are very difficult to “do wrong”. In this case, we wanted minimum flavor so it would just be a delicious starchy base for the beef. The perk of doing sour cream mashed potatoes is that they are creamy without having to use buckets of butter. Cut dietary corners where you can, I suppose. The slightly tangy sour cream flavor counters the heavy, heavy flavors of the beef dish.
I think garlic mashed potatoes would do just fine also, if you like garlic.  I would also suggest bread-bowls for an alternative starch element, as there was plenty of sauce to enjoy with the dish that a bread bowl would be most helpful in sopping up.  A baguette could also be used. Or biscuits. Either way, don’t miss a drop! 

 -Kitty
Photos by Kitty

Saturday, October 9, 2010

Not A Cupcake: Guinness-Gingerbread Birthday Cake


For our dad's birthday I (Kitty) wanted to make a Guinness cake. Mum had made cupcakes in the same vein the year before but I wanted to do a cake. Originally, it was going to be a sculpted cake, but this did not work out for myriad of reasons. But things rarely do when I'm in the kitchen, I just kind of roll with the punches and make stuff up as I go. It is an endless source of consternation for my by-the-book sister.

It took me forever to find a chocolate free recipe (Daddy's allergic) so I ended up just asking Mum for the one she used.


The work-station set up, with separate sheets for the cake, decorator icing and the Bailey’s cream cheese frosting so Sara and I could divide and conquer the tasks. Oh my painstakingly clean kitchen! Our tower of ingredients was quite impressive and almost didn’t fit under the microwave oven.
I have included the recipes step by step with the related photos, in bold text. There are also links directly to the recipe’s from the source so you can print them off more coherently if that’s your game.
Onward, to cake!
I made the batter first as it took the longest. The Guinness-molasses base has to be boiled then cooled for an hour.
Dry ingredients, wet ingredients and my bottle of Guinness.

RECPIE: GUINNESS-GINGERBREADY CAKE 
**technically, this is for cupcakes. I  tripled the batter to make a two-layer sheet cake**
            From Food.com 
Ingredients:  

Serves: 18

  • 1 cup Guinness stout
  • 1 cup light molasses
  • 1 1/2 teaspoons baking soda
  • 2 cups all-purpose flour
  • 2 tablespoons ground ginger
  • 1 1/2 teaspoons baking powder
  • 3/4 teaspoon ground cinnamon
  • 1/4 teaspoon ground cloves
  • 1/4 teaspoon ground nutmeg
  • 1/8 teaspoon ground cardamom
  • 3 large eggs
  • 1/2 cup sugar
  • 1/2 cup dark brown sugar
  • 3/4 cup vegetable oil

Directions:

Prep Time: 1 1/2 hrs
Total Time: 2 hrs
  1. 1 Preheat oven to 180C (350°F). Line 2 muffin trays with 18 cupcake liners.
  2. 2 Bring stout and molasses to boil in heavy medium saucepan over high heat.
  3. 3 Remove from heat; stir in baking soda.
  4. 4 Let stand 1 hour to cool completely.
  5. 5 Whisk flour and next 6 ingredients in large bowl to blend.
  6. 6 Whisk eggs and both sugars in medium bowl to blend.
  7. 7 Whisk in oil, then stout mixture.
  8. 8 Gradually whisk stout-egg mixture into flour mixture. Stir in fresh ginger if adding it in cake.
  9. 9 Divide batter among prepared cupcake liners.
  10. 10 Bake until tester inserted into centers of cakes comes out clean, about 25 minutes.
  11. 11 Cool cupcakes on racks. Allow to cool completely before icing.


I love extreme close-ups of food, is it obvious yet?

I cannot describe how good this SMELLED or how good it TASTED. Richly spicy  with the distinct after-taste of Guinness. I could have just eaten the batter and been absolutely okay with it never turning into a cake, but then Sara wouldn’t have anything to do.
Decorator Icing! Typical pink 14 year old girl nails!
RECPIE: DECORATOR ICING
            From Food.com

Ingredients:

  • 1 3/4 cups confectioners' sugar
  • 2 teaspoons milk
  • 2 teaspoons light corn syrup (Karo)
  • 2 tablespoons softened butter (NO MARGARINE)
  • 1/4 teaspoon vanilla
  • food coloring (if using liquid coloring, may need to add a little more confectioners sugar to bring to decorating c)

Directions:

Prep Time: 10 mins
Total Time: 10 mins
  1. 1 Place sugar into mixing bowl.
  2. 2 Combine milk, corn syrup and vanilla, and blend.
  3. 3 Add liquid mixture to powdered sugar and mix thoroughly.
  4. 4 Add softened butter and blend until thoroughly incorporated.
  5. 5 Divide frosting into several cups, and add food coloring to each. If using liquid coloring, add a little more powdered sugar until it reaches good spreading consistency.
  6. 6 Spread onto cookie with knife, or place in zip-loc sandwith bags with the corner nipped off 1/16" to pipe onto cookies.
  7. 7 Decorate with sprinkles or colored sugars.
  8. 8 Once cookies are decorated, place on flat surface to allow frosting to dry. Store cookies in covered container.
  9. 9 NOTE: Differences in humidity may require more or less liquids to make a good consistency frosting. Sugar can be added or milk lessened to achieve the best consistency.


Practice piping out the logo. We finally got an actual decorator kit.

Toucans are better than one!

After this there’s a bit of a gap on account of Sara having to go somewhere for…something so I was working by myself and couldn’t take pictures. So there’s not a picture of the cake baked or anything but I can say it was a two-layer massive brick of delicious, black gingerbread. I didn’t even frost between the layers. Sheer mass and the curious sticky quality of gingerbread kept it together just fine.
There’s also no pictures of me making the Bailey’s frosting. It was a bit of a disaster I only narrowly salvaged. Originally I was going for brown, but because Daddy can’t have chocolate, I was relying on color theory to get me from a 4-color box of food dye to Guinness brown. Failing that, I went for a nice Irishy green that’s approximately the same color as the average Guinness-themed t-shirt.  So at least it matched. And was also delicious.
Re-piping designs!
RECPIE: BAILEY’S CREAM CHEESE FROSTING

Ingredients:

Servings: 18 cupcakes or ((1 2 layer sheet cake))

  • 8 ounces cream cheese, at room temperature
  • 4 tablespoons butter, at room temperature
  • 3 cups powdered sugar
  • 3 -4 tablespoons Baileys Irish Cream

Directions:

Prep Time: 10 mins
Total Time: 20 mins
  1. 1 In a medium bowl, blend together cream cheese, butter, and Bailey's. Gradually add powdered sugar, mixing well until it?s all incorporated. Use immediately. The frosting will harden in the fridge, so plan on bring it back to room temperature if you must refrigerate it before frosting the cupcakes. 

Icing and touch-ups were added by Sara when she came home. I put text on it in the vein of “Happy Birthday, It’s a Lovely Day for A Guinness” but my hands were kind of shaky so I have refrained from displaying that disaster of draftsmanship.
Daddy, being presented with his cake :)

Over all impression of this project: This cake was DENSE. Like, high-insulation, building material dense. I can see why it's supposed to be made into cupcakes. I think I would also do it in a round format next time, but I prefer taller round cakes, really. But it had fantastic, rich flavor and the Bailey's cream cheese frosting is an nice, tart compliment to the heavy cake. I also prefer this decorator frosting for future decorations as it tastes better than the royal icing.

-Kitty
Photos by Kitty

Wednesday, September 1, 2010

Not a Cupcake: Iron Skillet Banana Bread.


Kitty here with a bit of a solo project! Sara was on vacation with the rest of the family this past week, and so I cleaned the entire kitchen as a nice gesture for our momma. In the course of cleaning, I found three heavily spotted, extremely ripe bananas. Well, being that I am a freak who likes her bananas still mostly green, I knew I wasn’t going to eat them. Obvious answer: Banana bread!

Of course, as soon as one has an idea, one finds the pantry lacking, so I needed to find the most simple banana bread recipe and even then I had to modify it. I used this set of ingredients from Food.com and substituted everything I didn’t actually have.

I really love this recipe even though it was completely devoid of any spices or flavorings. It was hearty without being dense, moist and buttery and had a yummy, strong banana flavor. The only thing I would do different is add walnuts but my brother hates them, so I left them out this time.


RECIPE
((You can, of course substitute your favorite recipe of choice. This was just what I could manage with the pantry contents.))
·       1/2 cup salted butter
·       3/4-1 cup light brown sugar
·       2 eggs
·       1 teaspoon baking soda.
·       2 cups flour ((in my case I used 1 cup of standard flour and one cup+2 tablespoons of cake flour because I ran out of regular flour. I would advise doing this, it made it so yummy and fluffy!))
·       3 ripe bananas


OVEN TEMP:  300 degrees. Rack in the middle of the oven.
1)   Grease and flour your skillet.  ((I used “Pam for Baking” cooking spray.))
2)   Mush up the bananas until they’re as smooth as you can get them.
3)   Combine banana mash with brown sugar, softened butter and both kinds of flour until there are no more dry spots and everything looks so smooth.
4)   Pour into the skillet and place in the oven. Bake for 45-55 minutes or until toothpick inserted in the center comes out clean. The edges should pull away from the skillet slightly.
5)   Either wait for it to cool and pop it out of the skillet or cut into wedges.
MAKES:  8 really thick slices*
*I used a 12” skillet. Halve everything for a 9” skillet.
SERVING SUGGESTION:  Cut in half and slather with peanut butter. I personally enjoyed mine with a cup of dark hot chocolate.


In conclusion: I never want to cook anything not cooked in an iron skillet ever. 

-Kitty 

P.S. As usual, the photos are by me

After the Rain, There Are Rainbows

So to kick off our baking blog we made…
something that involved absolutely no baking at all.

Sara found these charming no-bake petit-fours on I Am Baker. Of course, since a Valentine’s Day theme was not situationally appropriate and Kitty likes to paint, we decided to go with whatever struck our fancy. Rainbows won out, mostly because Kitty was involved. 


It was also kind of a drab day. Pardon the bluish tint to the photos.


The first thing we did was make royal icing and marshmallow fondant. Kitty made the royal icing, Sara made the fondant.

Does anyone know if humidity can affect royal icing? Ours never really hardened despite ample icing sugar and almond extract. In the end, the cute little decorations (hearts and rainbows) got scrapped. Oh well L, learning experience.

Sara finished the fondant without incident, and wrapped the Cakesters.


We wrapped the chocolate cakesters in blue fondant that Kitty made (and consequently had Smurf hands for a good half hour).

LUNCH BREAK~


This involved cleaning up and leftovers from the previous night. These were made by our Momma. Recipe is here.  We would recommend them highly, as we could eat them for days. Don't they look yummy garnished with fresh tomatoes and avacados? 

Anyway, back to work!


Sara proved more efficient and skilled at fondant wrapping than Kitty, so she did the vanilla cakesters as well in the plain white fondant, which was then turned over to Kitty.


Kitty then painted the white petit-fours with wide rainbow stripes. She had trouble with the paint ‘sweating’ and bleeding onto the other petit-fours are stacked. Is it temperature or alcohol-to-gel color concentration that does this? It made a terrible mess.

Since the independently piped decorations didn’t pan out, Sara decided to pipe the same shapes directly onto the petit-fours as it seemed a waste of icing otherwise.


And viola! They are done!

Over all, this seems like a fun recipe for a no-bake treat and the fondant and icing are very easy. An attentive novice cook could easily replicate it. Due to the sweetness of the end result, we recommend it for children’s parties. Older children could even paint their own wrappers!


-       Kitty and Sara [Two Moore Cupcakes]
 

PS. The photos are by Kitty as is the adorable apron Sara is wearing. 
O